I was transferring some important video files from my camera to my computer, and it seems like a few of them got corrupted. When I try to play them, nothing happens. These videos are really important to me, and I need to get them fixed. Does anyone know how I can repair them? Any tools or methods would be appreciated.
Sounds like a bummer. Corrupted video files can be a real pain, especially if they’re important. Here’s a few steps you might want to try:
First, let’s start with the basics. Ensure you’re using a media player that supports the video format. Sometimes, it’s just a mismatched codec issue. VLC Media Player is pretty great for playing corrupted files since it includes a repair feature. Open the video with VLC, and if it prompts you to fix the file index, click on “Fix.”
If that doesn’t work, you might need to consider some repair software. There are several out there like Stellar Repair for Video and Wondershare Repairit. These tools are specifically designed to mend broken video files, dealing with issues from incomplete downloads to transfer errors.
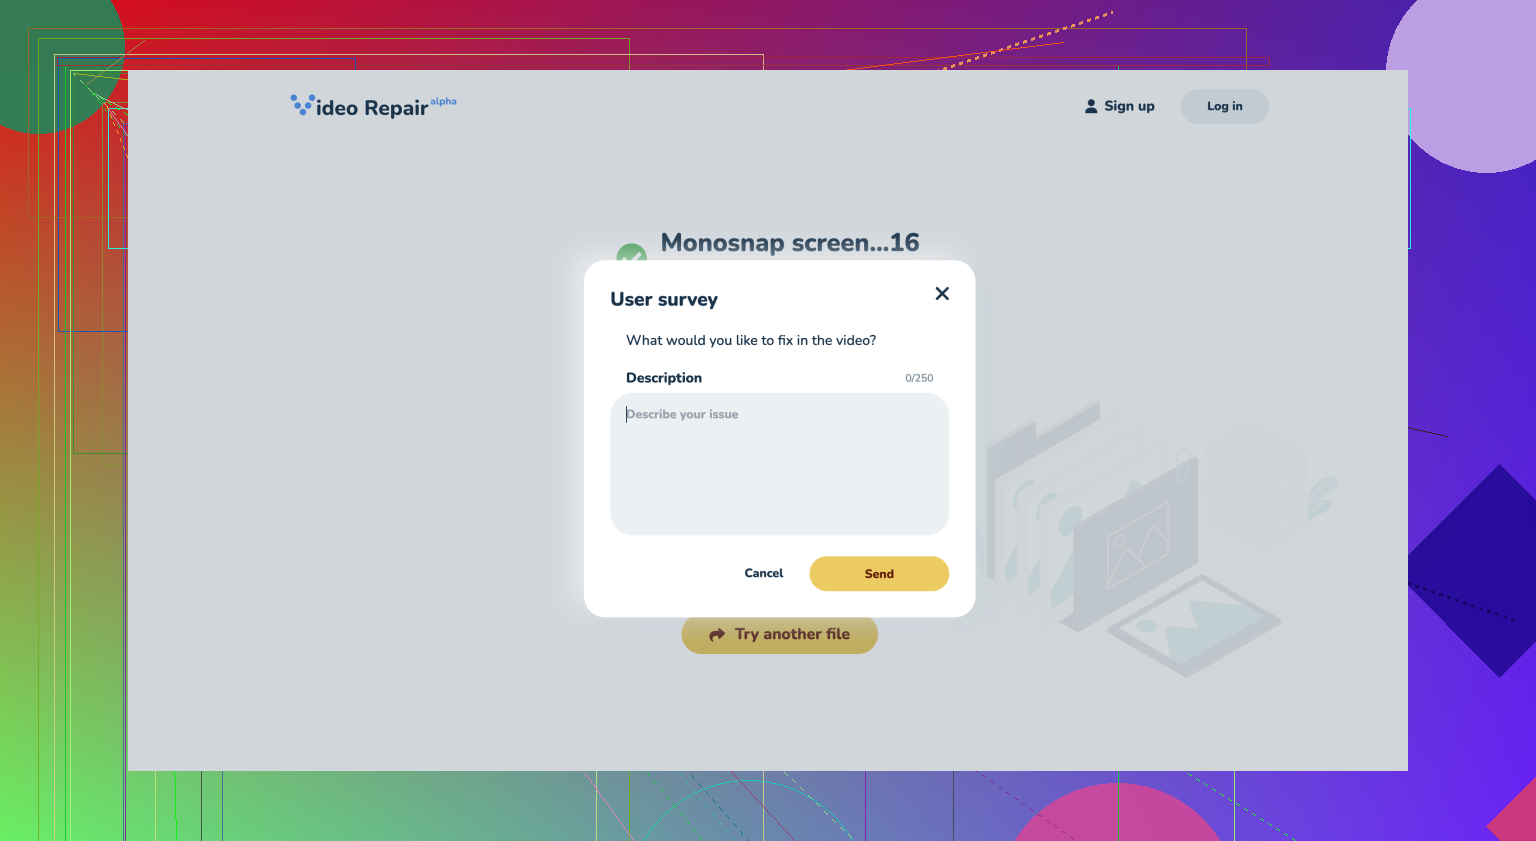
For a free and fast fix, you can also use the Free Online Video Repair Tool at Clever Online Video Repair
. It’s simple: you just upload the corrupted file, and it attempts to fix it for you. No downloads, no hassle.Another command line trick, if you’re feeling adventurous and are familiar with FFmpeg, involves re-encoding the video file. You can use the command:
ffmpeg -i corrupted_video.mp4 -c copy fixed_video.mp4
This essentially reconstructs the video file without affecting the quality.
Lastly, you should always backup your files to avoid future problems like this. A regular backup routine can prevent a lot of headaches. If you’re able to recover your files this time, consider setting up an automatic backup to an external drive or a cloud service.
Good luck!
Codecrafter already made some valid points but hey, let’s dive deeper into the world of video repair. Trust me, this stuff can be a real rabbit hole if you’re not prepared.
For starters, corrupted files might look like they’re beyond saving, but oftentimes they just need a bit of coaxing. Since you’ve already attempted playback and it’s a no-go, let’s take a slightly different route:
Check File System Errors
Before diving straight into repair tools, make sure your storage device isn’t what’s causing the headaches. Run a check on whatever drive the videos are stored on.
On Windows:
- Open File Explorer.
- Right-click on the drive and select Properties.
- Go to the Tools tab and click on Check.
If there are errors on the drive, fixing them might make your video files more accessible.
Try Alternative Media Players
VLC is sturdy, but it’s not always the Holy Grail. Another player like Media Player Classic (MPC-HC) can sometimes handle what VLC can’t, especially if it’s a codec issue. K-Lite Codec Pack bundled with MPC has worked wonders for me on several occasions.
Raw Data Recovery
Dive into tools like Disk Drill or Recuva before giving up. They’ll scan your storage thoroughly and recover segments of the file lost during transfer. Let’s be clear, this doesn’t always work, but worth a shot.
Advanced Repair Tools
If you’ve tried VLC and it didn’t do the job, consider getting your hands dirty with repair software. But before you pull out your credit card, try:
For In-Depth Recovery with CleverFiles
- Go to Free Online Video Repair Tool.
- Upload the corrupted file and let it do its magic.
This tool often works better than desktop software because it isolates common corruption patterns found during transfers.
Hex Editors
For the brave souls - you can use a hex editor to salvage data from corrupted headers. HFEx and HexEd.it are solid options.
- Open your corrupted file in the editor.
- Compare it with a working file from the same camera/source.
- Match header values (look for differences and correct them).
FFmpeg Wizardry
Codecrafter mentioned FFmpeg, let’s expand on that. This command-line tool is potent! Beyond re-encoding, try rebuilding the file index:
ffmpeg -fflags +genpts -i corrupted_video.mp4 -c:v copy -c:a copy fixed_video.mp4
This command forces FFmpeg to regenerate presentation timestamps, which can fix files where the index is misaligned.
Combining Segments
If the corruption happened mid-transfer and split the file, you could stitch pieces together:
ffmpeg -f concat -safe 0 -i list.txt -c copy output.mp4
In list.txt format:
file 'part1.mp4'
file 'part2.mp4'
...
Each segment should be listed in order, helping to rebuild a single coherent file.
Storage Medias and Backup
A slight twist on Codecrafter’s backup suggestion: Use a combination of cloud storage (Google Drive/Dropbox) and NAS devices. This redundancy ensures there’s always a copy somewhere, minimizing risks of corruption.
Professional Help
When all else fails, professional data recovery services can salvage what DIY methods can’t. Companies like DriveSavers offer targeted recovery, albeit at a steep price.
Experiment with Codecs
Don’t forget to experiment with different codecs if re-encoding. Sometimes switching from H.264 to H.265 or a simpler codec can resolve playback issues. Tools like HandBrake make codec switching easy.
Wrap-Up
Remember, the journey to repair corrupted videos is often trial and error. Patience is your best ally here. It’s tough, but keep these steps in mind, and you should eventually see success. Good luck, and definitely keep us updated on your progress.
If VLC and the usual suspects aren’t cutting it, consider diving into backup files from auto-save features on your devices or even cloud backups. If all else fails, services like Clever Online Video Repair provide a solid chance of recovery, albeit with mixed success rates. Repair software like Remo Repair AVI might be another good shot. Although less convenient than online tools, they sometimes outperform in tricky scenarios. Cons of Clever’s tool? Slightly limited file size for free users and sporadic file type support. Keep in mind preserving a corrupted-but-intact version before any attempts.
